
Remove fenders and anything else that needs to come off to remove the fenders.
GT Factory’s Diablo Door Hinge Conversion
Install Instructions
Click Thumbnails to inlarge
| Step 1. | |
|
|
Remove fenders and anything else that needs to come off to remove the fenders. |
| Step 2. | |
 |
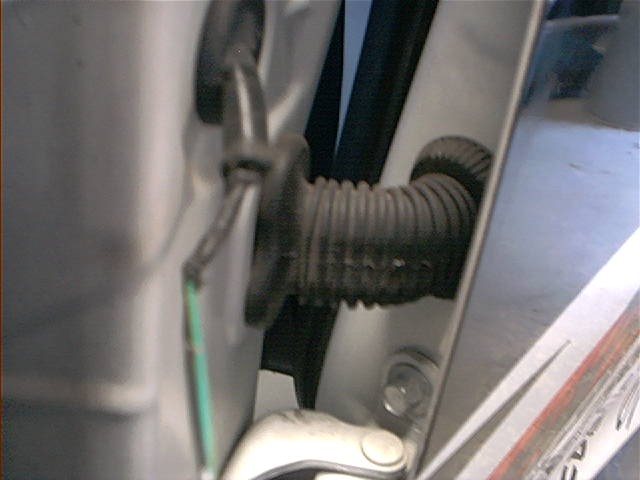
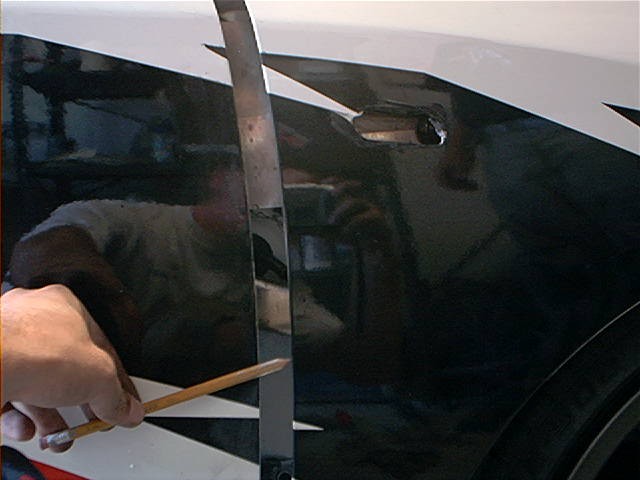
Remove the door panel and lower dash panels to loosen the wires going through the door jam by cutting ties that keep the wires bunched up and pull extra slack towards door jam. Pull the stock rubber boot out of the door and door jam. |
| Step 3. | |
|
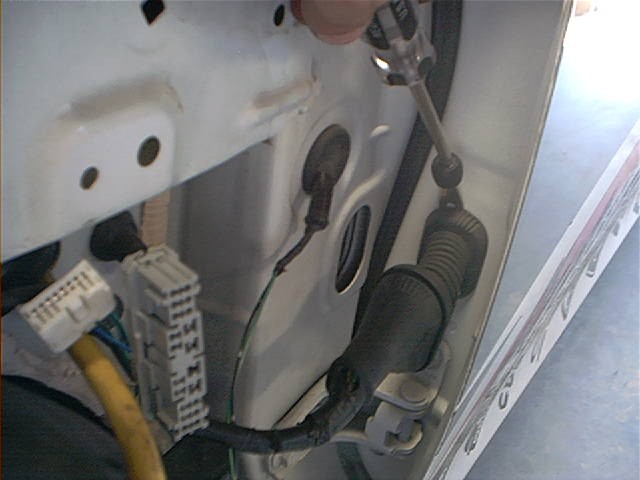
Open the door and disconnect the door stop from the door jam. |
| Step 4. | |
|
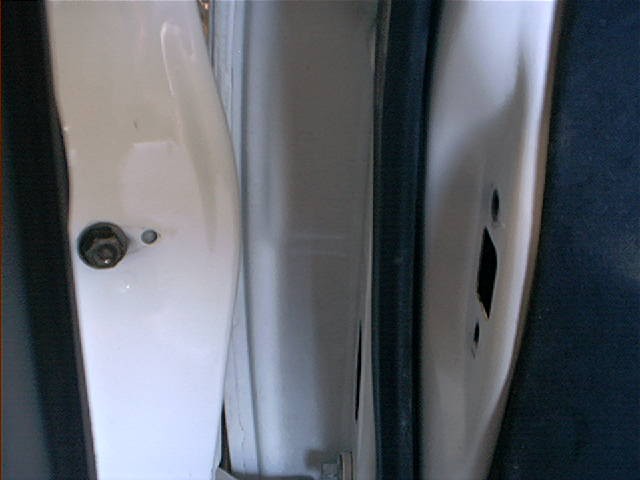
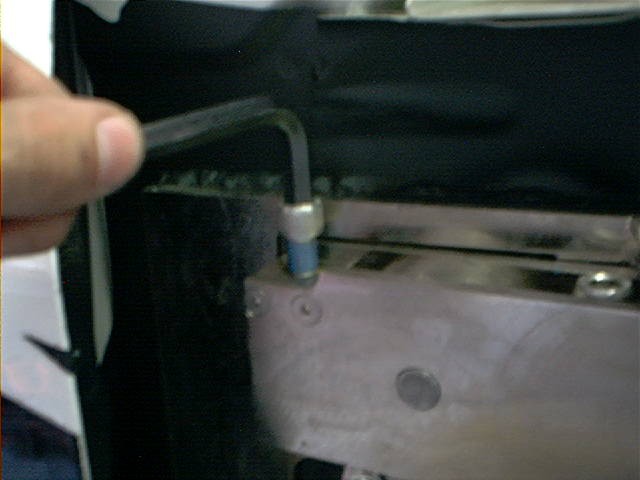
With door closed remove the factory top door hinge. |
| Step 5. | |
|
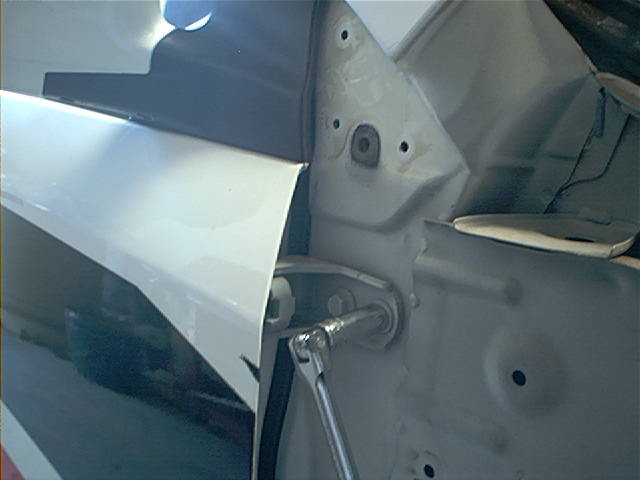
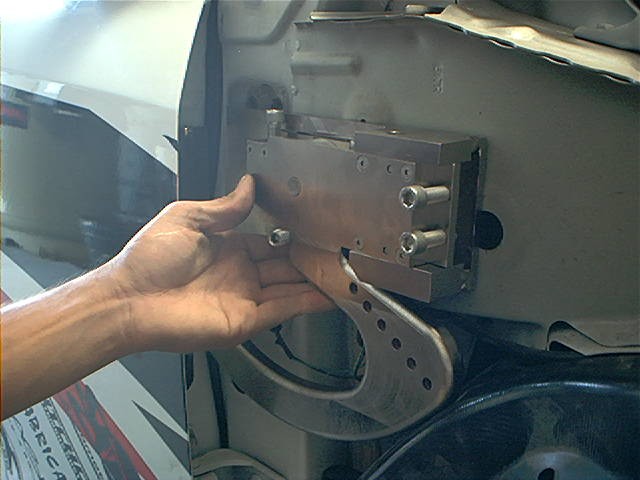
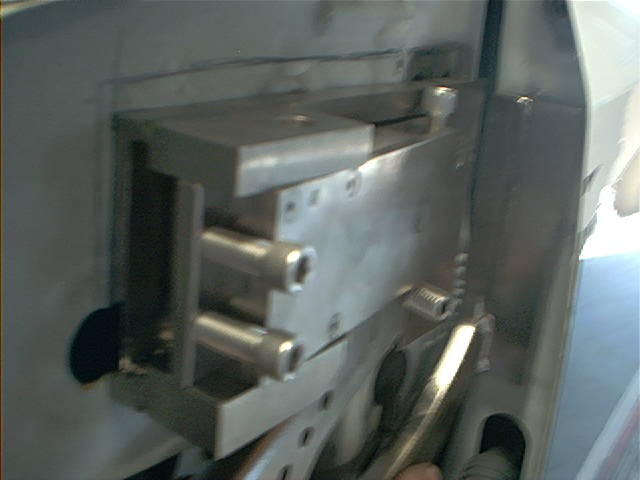
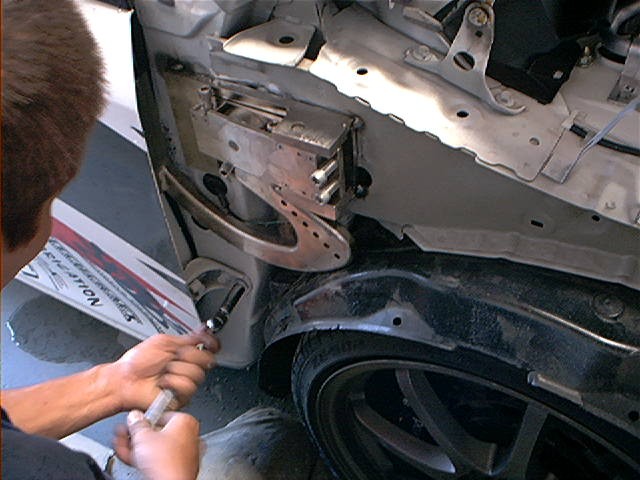
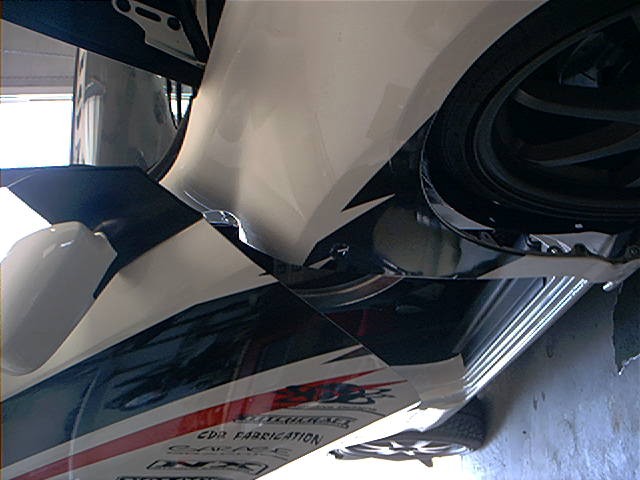
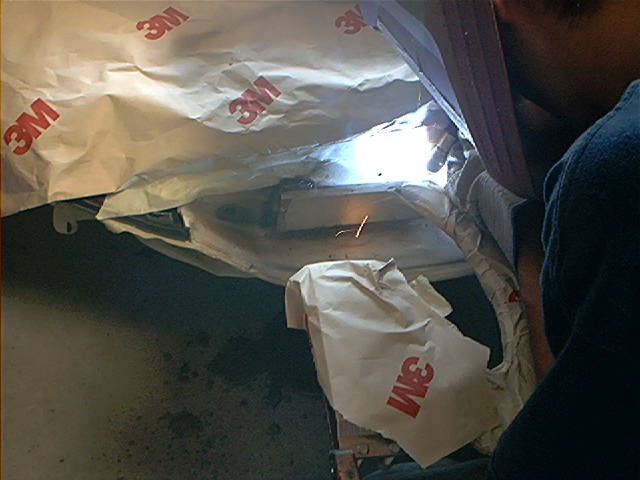
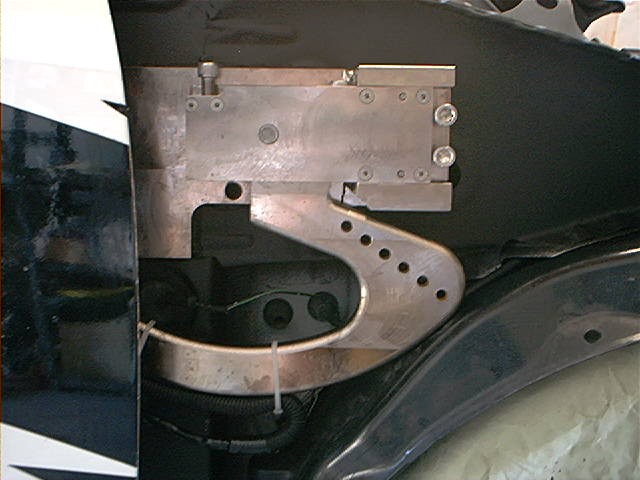
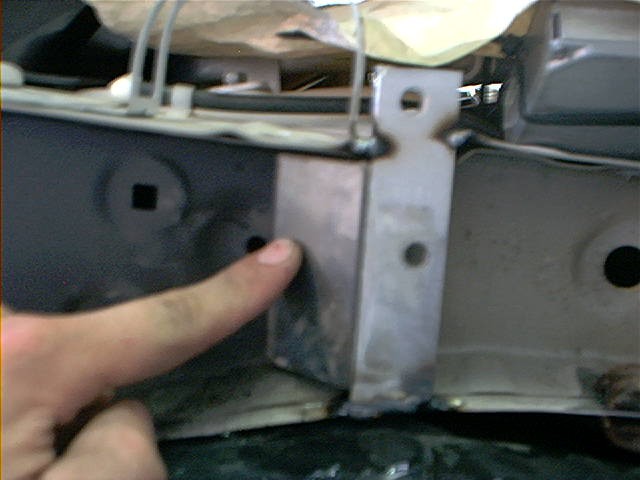
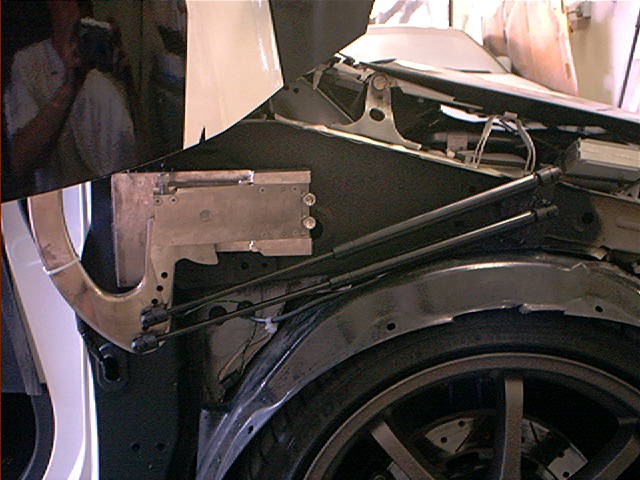
Test the placement of the Diablo mechanism by holding it against the chassis. You will want to find the highest mounting point available without the mechanism hitting the fender when it swings out. This will give maximum swing arm to fender clearance when the door is up. If you mount it too high though it will limit the open outward angle of the door. Each application has it’s happy medium which you can find by test fitting the fender. |
| Step 6. | |
 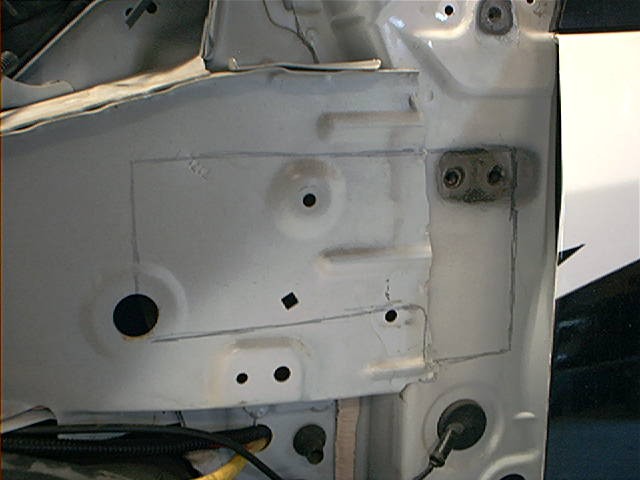 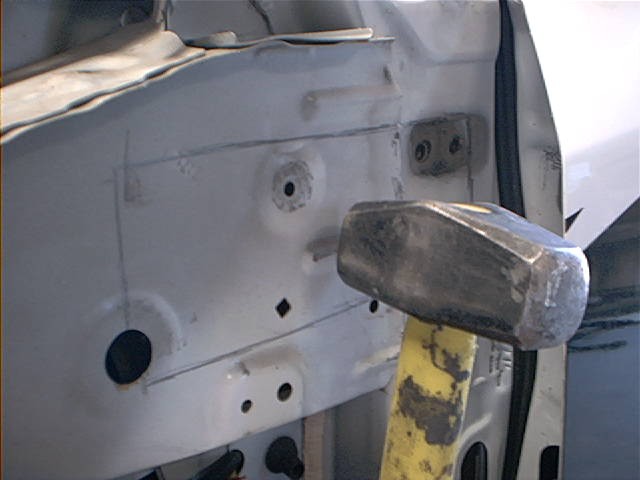   |
Observe anything that may prevent the base plate and door plate from sitting flush then grind or hammer any extrusions that may hinder the base plates from sitting flat. You may also grind and cut the base plate and door plate as needed. If you must take out any load supporting metal to allow the Diablo hinge to sit flush, be sure to weld in some reinforcing steel to any holes you may have created cutting the chassis. It is always better to hammer something flat because all of the original metal is there. |
| Step 7. | |
|
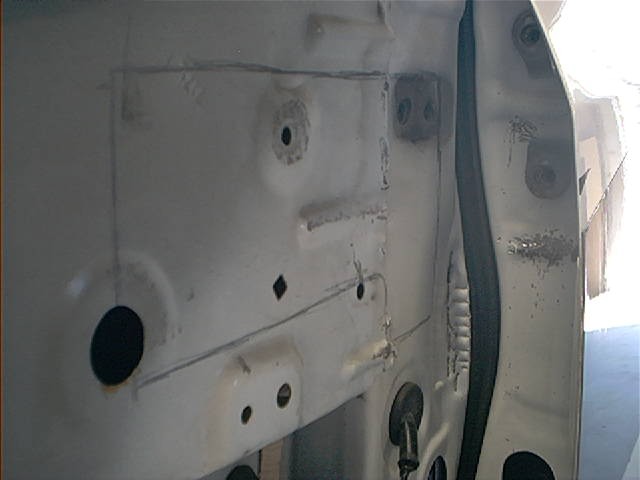
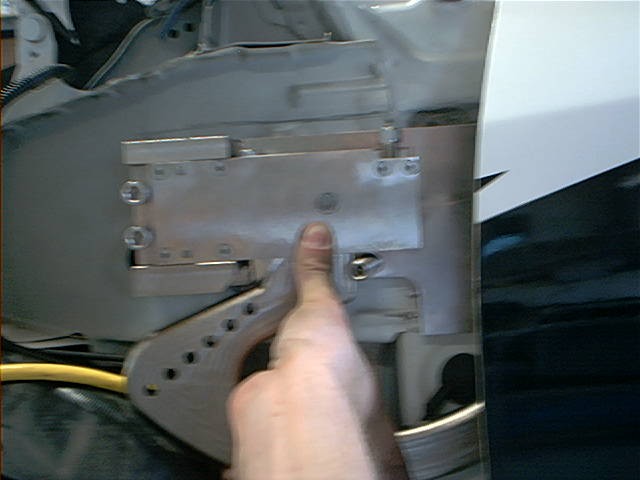
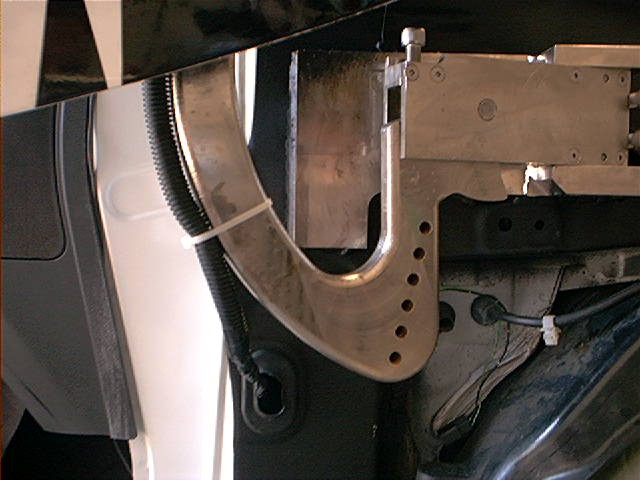
While holding the Diablo hinge in place where you are satisfied it will sit properly and give proper clearance for the swing arm and outward motion, remove the ½ inch set screw and mark a spot through the threads in the base plate and cut a ¾ inch hole to make room for set screw adjustments that may extend below the base plates surface. |
| Step 8. | |
|
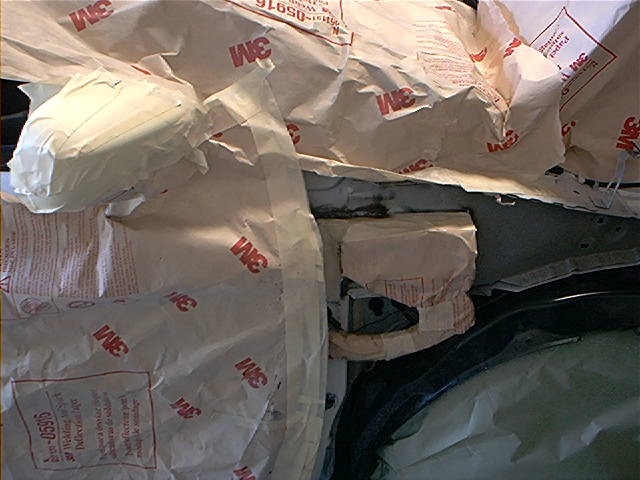
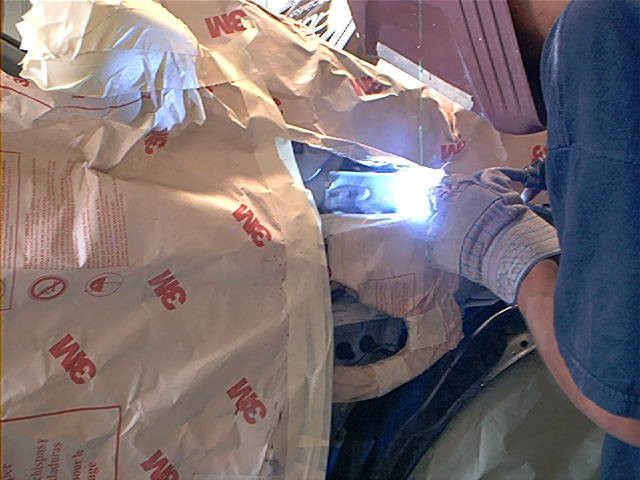
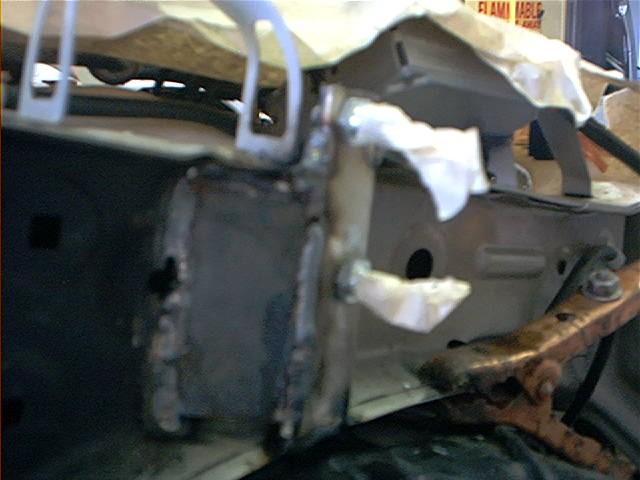
Next you should cover the Diablo mechanism in masking tape and or welding deflection paper with the exception of the surface that will touch the car and get welded. This will protect the nice finish during installation. |
| Step 9. | |
|
While holding the Diablo mechanism in place tack weld spots around the perimeter, remove the bottom factory hinge, and test the doors motion to make sure everything looks OK. |
| Step 10. | |
 |
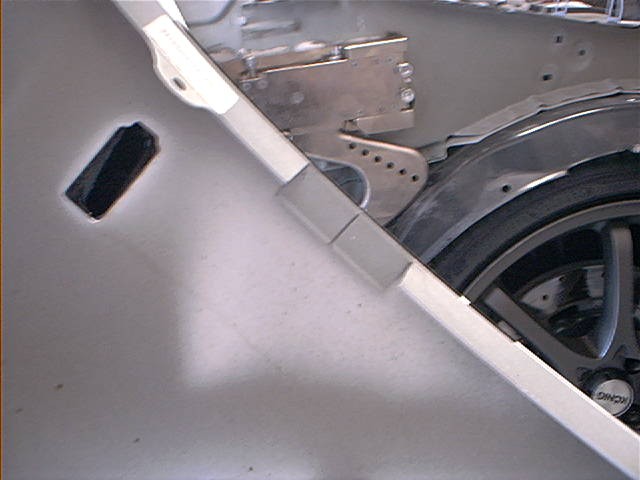
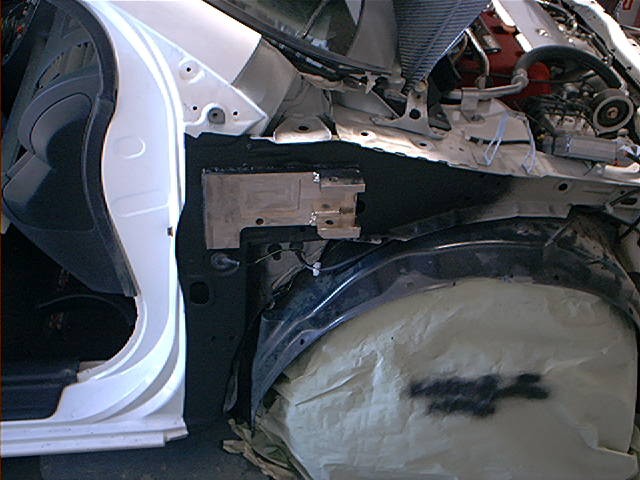
Have someone swing the door up after you slide the fender in place and mark where the swing arm rubs the fender. Cut and or roll inner edge of fender where the swing arm interferes. Test door motion with the fender in place. |
| Step 11. | |
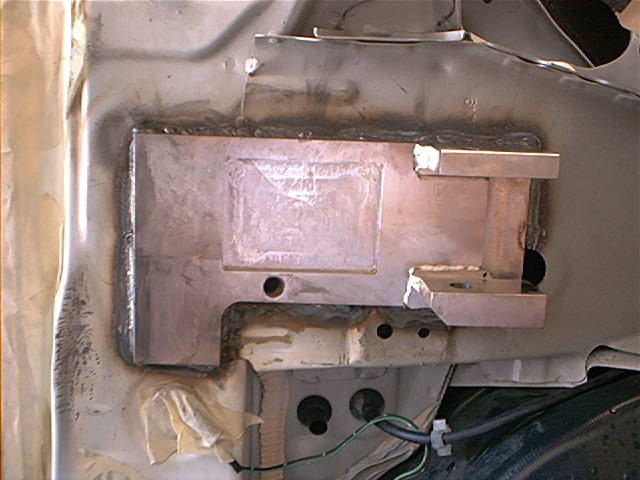 |
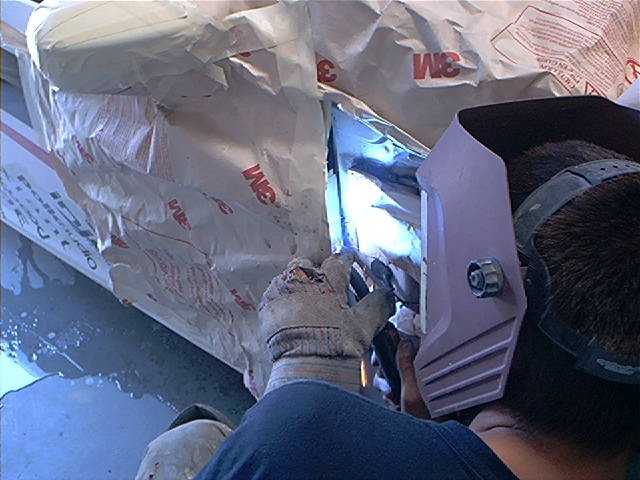
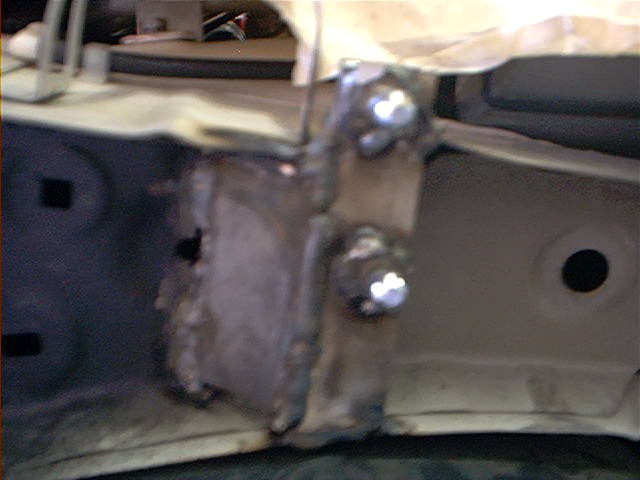
Once satisfied with everything, start a nice weld around the perimeter of the base plate and doorplate. Remove the door by having one person lift it while another person taps out the vertical pin and then finish the welds on the inside edge of the door plate and base plate with the door off of the car. |
| Step 12. | |

|
While door is off of the car extend the wiring by cutting factory zip ties under the door panel. |
| Step 13. | |
|
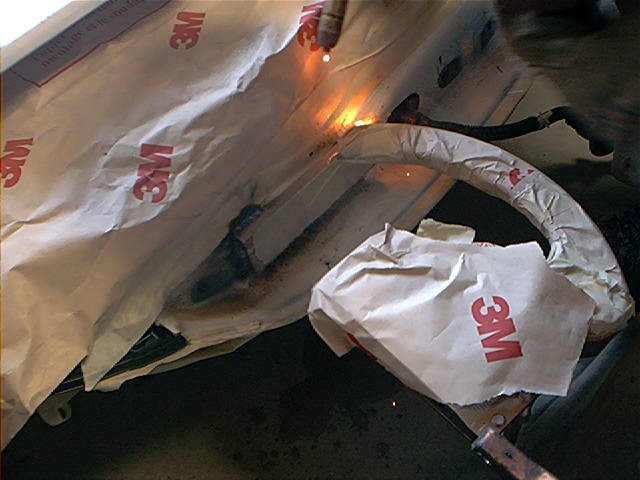
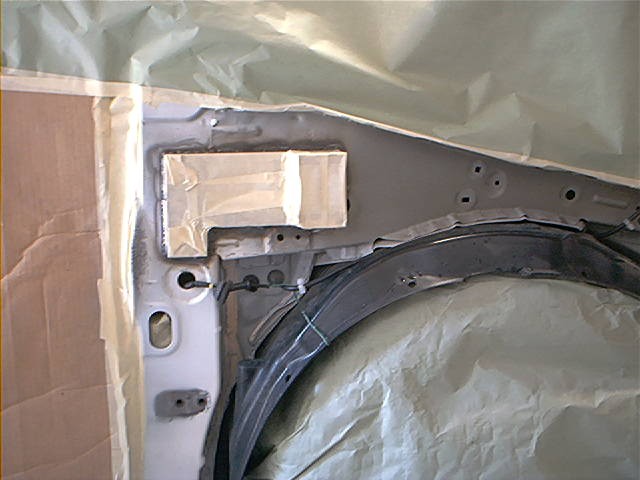
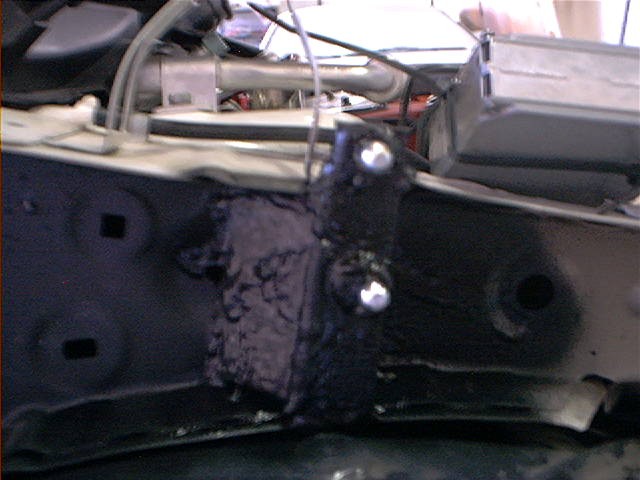
Mask base, and door assembly. Rough up the welds and surrounding paint with a scotch bright pad. Spray Rubberized undercoating on welds for corrosion protection. |
| Step 14. | |
|
Replace the door and tap the vertical pin back in. Zip tie extended wires to the swing arm. |
| Step 15. | |

|
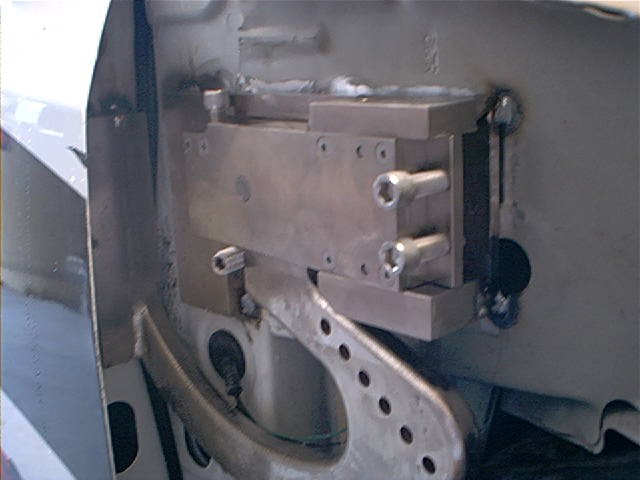
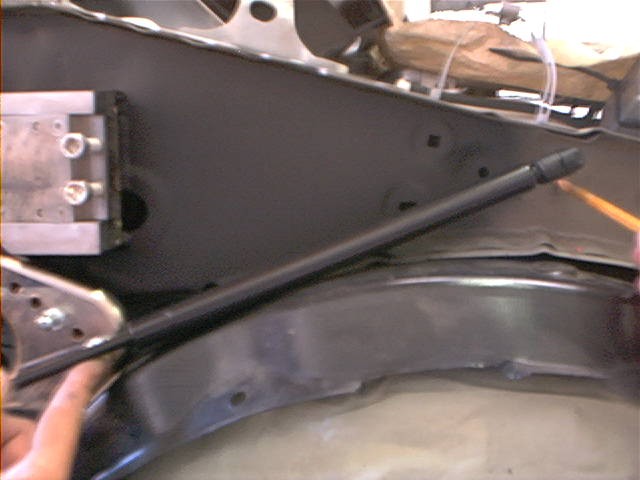
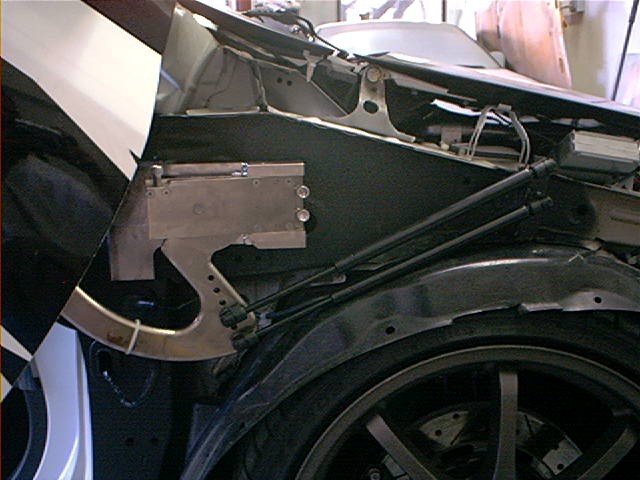
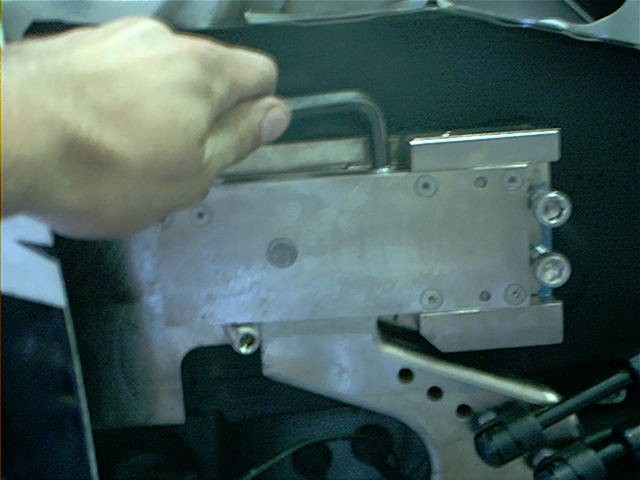
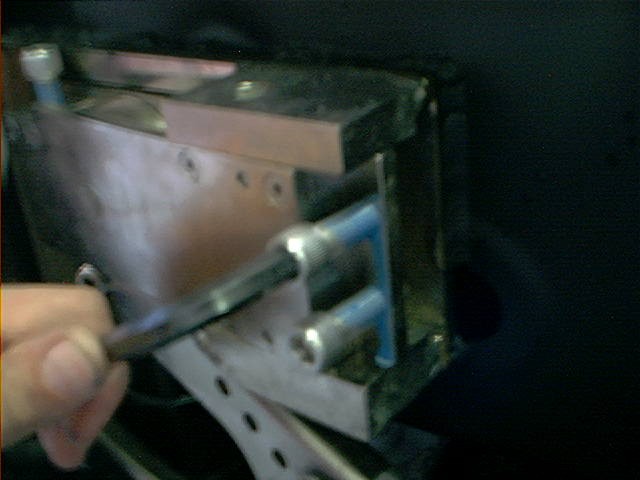
To mount the gas charged lift supports, screw two ball joints into the swing arm using a half inch socket so that one ball joint is on the bottom hole and the other is screwed into the second space above the first ball joint. Next measure where the bottom arm will go by holding it so that the arm is over the bottom ball joint and the body is back enough to clear the end fitting if it was fully compressed. Than with the body gust above the wheel well liner, mark the spot where the ball joint will get mounted on the chassis. Now with the top motion screw out and the hood closed, swing door up to its maximum vertical point. Click in the fitting for the top lifting arm to the top ball joint on the swing arm and mark opposite side on chassis about 1.5 inches above the bottom arms ball joint mark. click in the bottom arm to the swing arm. Have a helper swing the door out then up while you hold the arms parallel near the chassis. Test the motion. Notice the arms stay parallel as your helper lifts the door up and down. Make sure the lifting arms do not hit each other or the hinge in the course of the doors motion. |
| Step 16. | |
 |
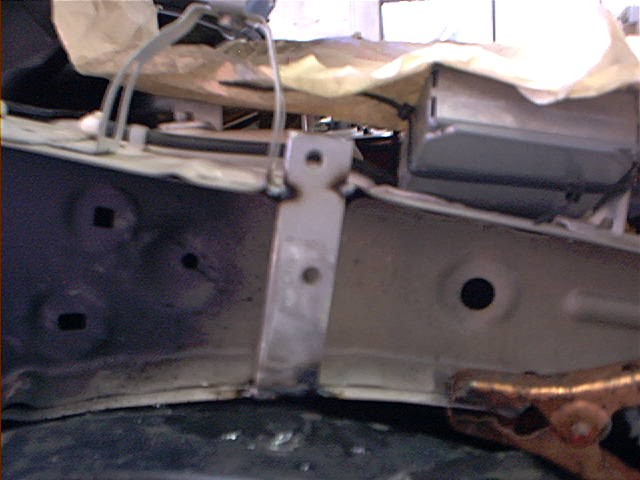
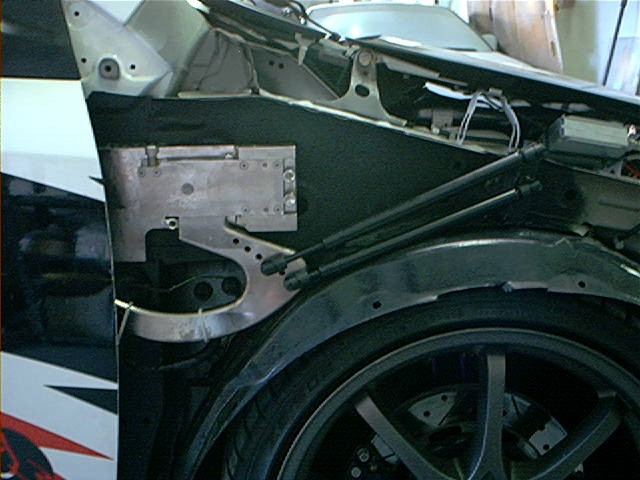
Put the door down for now and weld in a flat stock steel on to the chassis to reinforce it where you marked the ball joint spots. Drill and tap the metal for the ball joints or drill and weld them in place. Mask the ball joint tips, and spray undercoat. Now lift the door all the way up and pop the lifting arms into the ball joints. |
| Step 17. | |
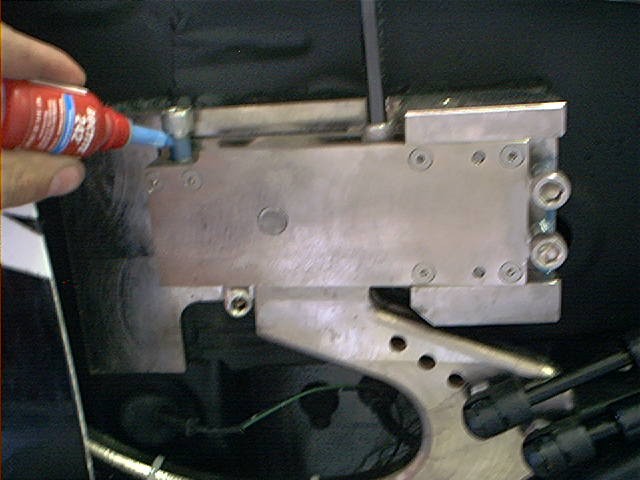 |
The door will stay put now when up. Test the doors motion again and plan your adjustments. Add loc-tite to all adjustments. |
| Step 18. | |

|
With the door closed, tighten up the door sag screw. Test the door’s horizontal motion until the door is alighed with the latch and closes perfectly. Twist the ½ inch set screw in until the Diablo mechanism no longer interferes with the fender when the door is raised. Then set the outward motion screws to correspond with the angle that the safety screw rubs the inside of the lifting arm when up. The closer you make these two adjustments, the more sturdy the door will feel when in the up position. |
| Step 19. | |
|
Set the vertical height limiter adjustment as high as you wish provided that the door does not hit the fender or hood when propped up. |
| Step 20. | |

|
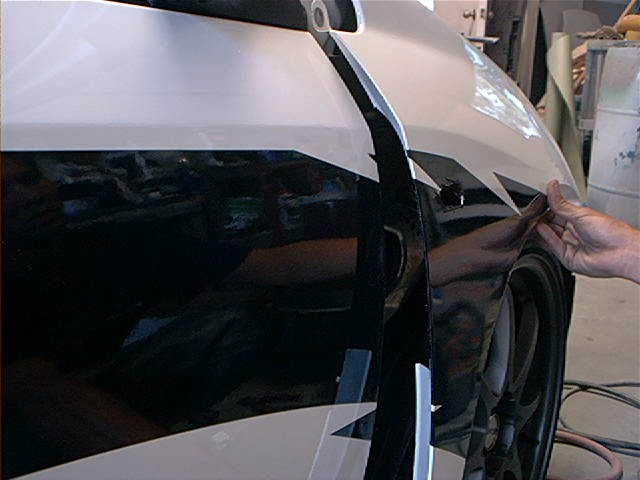
Mount the fender (lights, bumper and side skirts). And you are done! |